Hello All!
Less than a year ago I got my marvellous Ellisimo sewing machine. So far it has been a great Joy! However I found that there is not much information about Ellisimos and all the things that can be done with them, so this blog will show my adventures in Sewing and to show what this machine can do.
My first project I wanted to show for my blog was my new sidekick Elli the Elephant!
I saw the adorable pattern and knew I just had to make a elephant, of course the fact I’m way past the age of “needing” stuffed animals did nothing to deter me. I had the brilliant idea of making her my “mascot” for my new blog and voila! I had a reason to make one.
Step 1. Picked my fabric… (added bonus that it matched my nails at the time )
And got to work….Wait..It can’t be that easy? nope it wasn’t. I always make things more complicated 😀 On the very first step, the pattern called for a felt eye to be stitched on. But why stitch a round felt eye when you can embroidery one?? (hint the answer is because it is easier…but forget that part 😉 ) So instead I decided to experiment and try out the drawing pad that came with my Ellisimo. ( There was extra complications of not being able to find the pen for the drawing pen at first, but that is all unimportant details) I traced the pattern eyes on the pad to give me a idea of what size I needed to look right. Then I researched “eyes” on cute embroidery designs and decided I wanted a double circle eye with eyelashes. The double circle part was really easy with the drawing tools that come with the pad, the eyelashes were not as easy.


But I finally had a idea of what I wanted so I stitched it out on sample fabric..little bubbly because I didn’t hoop and stabilize it carefully but all in all I could tell it would work
")
")
So cute, halfway thru stitching the eye…I almost left it just as a half moon but decided that made her look too sleepy (and yes I’m very stingy with my stabilizer and try to conserve it when I can 😀 )
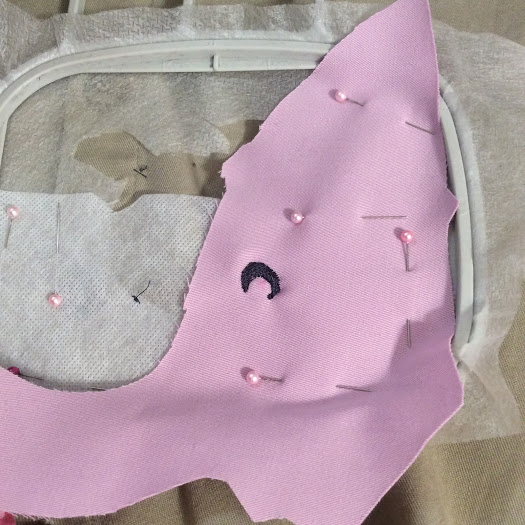
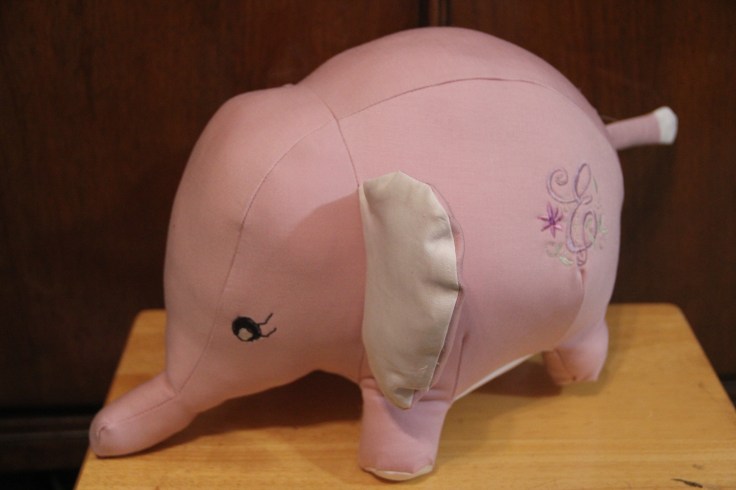
Then Embroidered the Elegant “E” on the Elephant (ha! I can alliterate 😉 ) I stuck the body together…easy peasy…..

There was the slight complication of fabric of the ears being too see through. I didn’t like being able to see the seam thru the ear, but I solved that by lightly stuffing them. So far everything is going marvellously with no complications
")
")
I’m stitching along, enjoying the fact everything coordinates… I do love it when things cordinate..wait! where did that one pin come from!!…oh well ALMOST everything cordinates

the pins coordinate…my nails coordinate…..the fabric…my sewing scissors… Starting to feel pretty confident about this and start to wondering what I’m going to make next….Until…..
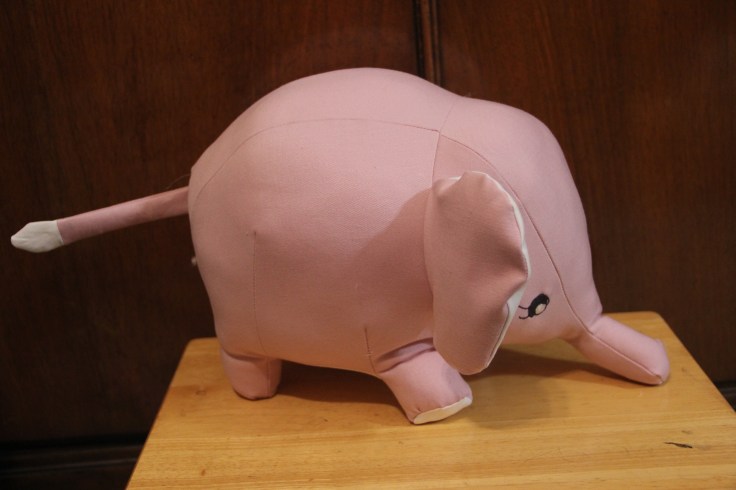
Step 23. Sew feet onto legs…..Let me just tell you that is a whole lot easier sounding than it actually was!
oh my word those feet! so hard! little bitty circle that had to be sewn on itty bitty leg. Without stitching the leg together!! Plus the pins pop out of the fabric because they are such a small area….ARG! after quite a bit of trial and error, I figured out if I used the zipper foot I could turn it in a much tighter circle and as long as I went slow it worked. Oh and pushing the pins allll the way in so they didn’t come out as easy.
")
")
So that problem was solved! Whew!! on to the stuffing! (which took a lot more stuffing than I thought it would)
But tis done! meet Elli!!!!!
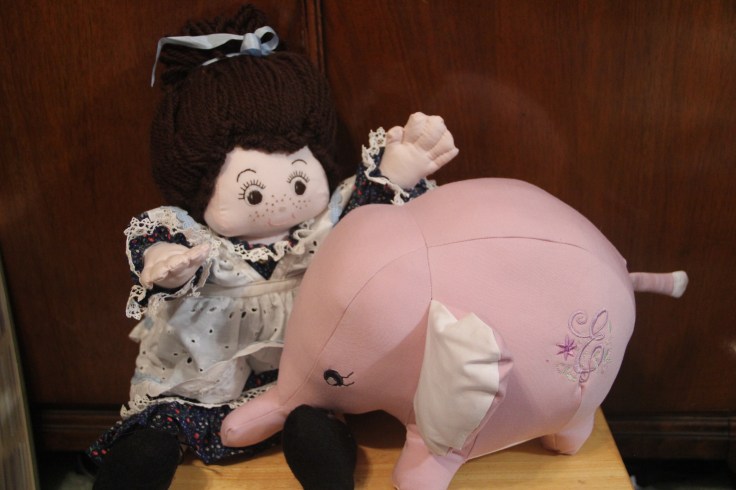
(The doll we shall met in another post 😉
Elli likes to help with sewing and pins. She is quite a character 😀

Thank you for reading and please comment if you have suggestions or if you enjoyed reading!

July 17, 2016 at 6:59 am
EEEEeeek to sewing those feet! I have enough trouble with doll sized sleeves. Elli turned out adorable though, I love the embroidery on her hind quarters.
LikeLike